October 21, 2011

Gettin' Figgy With It...


I LOVE figs and lucky for me I live in a predominantly Italian neighborhood where fig trees are the preferred lawn ornament.  Now is the time when the branches are heavy with fruit, hanging low enough that plucking them from the tree does not prove to be very difficult.
(and don't think I haven't contemplated enlisting my friends for a little late-night recon mission to "obtain" said fruit)

Figs are in season from late summer through early fall, so if you happen upon them at the farmer's market or the grocery store,  get them while you still can.

I had never made fig jam before but I figured since I  love the fruit, the jam would be a sure hit (it was) and with this recipe,  canning season for me comes to a close.
While this is a sweet jam,  it can be used as a base for other add-ins...  caramelized red onions or bacon for example.  This can be turned into a topping for crostini with a little fresh goat cheese or perhaps on a half bagel, with some crispy crumbled bacon and then topped with a fried egg for breakfast?  (just brain-storming here...)

Finding a recipe for fig jam wasn't as easy as I thought it would be,  but I eventually stumbled upon one.  I used it as a guide,  but ended up changing a few things.  I rarely stick to an exact recipe unless it's baking,  those you really can't veer off too much or it could prove disastrous.

The recipe I found called for 6 cups of sugar & only 4 cups of figs.  I thought this was a bit much on the sugar so I adjusted it.  Jam should be sweet,  but it shouldn't cause a diabetic coma or send you to a dentist...


Fig Jam
  • 4 pints figs, roughly chopped (about 28 - 30)
  • 1/2 cup + 2 tbsp fresh lemon juice
  • 1/2 cup water
  • 1 tsp butter
  • 3 cups sugar
  • 4 tbsp low sugar pectin
  • 8 half pint glass jars (with lids & bands)

1. Prepare water bath.  Heat jars and lids in simmering water.  Do not boil.
2. Cut stems off figs and roughly chop.  I used Black Mission figs here, but any variety of fig will do.

3.  Combine figs, lemon juice, water, butter & sugar in an 8 qt pot and bring to a rolling boil.
4.  Add pectin and continue hard boil for 1 minute, stirring constantly.


5.  Ladle hot jam into jars leaving 1/4 space. Wipe rim, put lid and band on. Do not over-tighten.
6.  Process in a water bath for 10 minutes.  Remove jars and cool.
7.  Check for seal.  If you have one that did not seal properly, refrigerate and use within a month.


 Rosy- Hued Fig Jam

October 15, 2011

...Eating Her Curds & Whey


What exactly is poutine you might ask...   besides ridiculously good and wrong on so many levels,  poutine is a Canadian dish consisting of 3 ingredients: french fries topped with cheese curds & smothered in gravy. The tell tale sign of good cheese curds:  they squeak when you bite them and squeak these did!  You can imagine my skepticism, being a Midwesterner (and half Canadian) of finding good cheese curds in Brooklyn of all places.  As those of you familiar with it know, the East coast isn't exactly "poutine" country.   I was happily surprised...  let the gluttony commence.

What may be a new discovery for some,  the rest of us have known for awhile.  Poutine is delicious, but here's the thing...  you shouldn't exactly make it a habit,  unless of course a diet of cholesterol & high-blood pressure medications are what you are aiming for.

I know that not everyone's world revolves around food like mine does, but I know that I am not alone in certain memories being linked to food.  I remember the first time I ever had french fries with gravy on them.  I was in Newfoundland with my younger cousin (Nancy) and we were sitting in a red vinyl- covered booth  in a little diner in the mall.  I remember thinking "this is FANTASTIC,  why don't we ALWAYS put gravy on fries?" (I have ever since...) Now, add fresh cheese curds to that & we are in business!

Last weekend,  I happened to be perusing one of my food magazines and there it was:  a mention for a restaurant in Brooklyn serving poutine.  You can imagine my next thought (go there immediately), so we did.  The smell of french fries lingered in the air,  beckoning us over the threshold into full-on bliss.  I was hoping I wouldn't be disappointed and I wasn't.  The poutine delivered, in a big way.  It was delicious.

While sitting there eating my curds and fries I stopped and just started to laugh.  I looked at where we were sitting and thought "Deja Vu".   We were sitting in a red vinyl booth...

October 05, 2011

In a Pickle...

In the Midwest, and certainly other parts of the country, the end of summer marks canning season at it's height.  This is when the air smells of ripe tomatoes being "put up",  jars of preserves and jams lining the kitchen counter like a glass army of winter provisions...  cabinets and cellars receive the summer's bounty before colder temperatures bring the first frost.

Canning may be a lost art form in other parts of the country,  but if you're near an agricultural area you are very familiar with the process.

My step-dad & I used to do this as a two man operation...   It was a bit of an elaborate set-up.  There were two stoves working simultaneously, I was at one cooking the fruit and he was at the other sterilizing jars.
We'd meet at the halfway point for the hand off: 
He'd sterilize the jars,  bring them to me piping hot,  I'd fill them and put the lids on then take them back out to him to process and seal.  We ran our operation like a well-oiled machine (he IS German, so there's really no other acceptable way).

Bread and butter pickles have always been my favorite.  They are sweet and yet have a little bite from the vinegar and they remind me of my Grandfather, they were his favorite too.  I sometimes feel obligated to "Chef" it up a bit,  but at the end of the day I'm just a girl from Ohio and the simple, familiar things are what I crave.

For this recipe,  I used Kirby cucumbers that I bought at the farmer's market.  
The beauty of this is there are few hard & fast rules, but if you chose to use a different cucumber, make sure it is a pickling cucumber.


Bread & Butter Pickles

  • 6 medium Kirby cucumbers, about 7 lbs.
  • 2 medium onions, thinly sliced
  • 3/4 c. salt
  • 2 cloves garlic, smashed
  • 4 c. sugar
  • 2 c. white vinegar
  • 2 c. apple cider vinegar
  • 1 c. water
  • ice cubes
  • 4 tbsp. pickling spice blend
  • 1 1/2 tsp. turmeric

Pickling Spice
  • 6 tbsp. mustard seeds
  • 3 tbsp. celery seeds
  • 2 tbsp. coriander seeds
  • 1 tbsp. whole allspice
  • 4 bay leaves, crumbled
  • 1/4 tsp. white peppercorn
  • 1/4 tsp. green peppercorn


1.  Slice cucumbers into rounds,  the easiest and fastest way to do this is with either a food processor or a mandoline.   I have an inexpensive Japanese style mandoline that I use and it works perfectly.  A mandoline or food processor will ensure that the slices are uniform and you'll be done in a fraction of the time it takes to slice everything with a knife.

2. Combine sliced cucumbers, sliced onions and crushed garlic with salt in large bowl and toss to coat evenly with the salt.  Cover with ice cubes and let stand.  The purpose of this is to pull some of the moisture out of the cucumbers.  The salt will leach the liquid out of the cucumbers and onions helping them to retain a crunchy texture.  They can stand anywhere from 3 hours to overnight,  but patience is not a virtue I possess, so 6 hours was my limit. 

3. Sterilize your jars and lids and let them sit in the hot water until you are ready to go. You could take them out and let them drain if you like, but I was told to just leave them in the hot water until I am ready to fill them, so that's what I do.

4. Drain the cucumbers and rinse if you like.  Discard the garlic.  (Salt & I are very good friends, so I chose not to rinse mine, but if you two aren't as close perhaps you'd care to rinse some of the salt off before you proceed).

5.  Combine the vinegars, water, sugar, turmeric and pickling spices in a large pot.  Bring to a boil,  then add in cucumbers and onions.  Return to a boil and then shut off.  Do not boil the cucumbers, get the liquid back up to the boiling point and then immediately turn off the heat.

6. Ladle pickles into glass jars, leaving about a 1/2" space on top and put the lids on.  Do not tighten the lids to the point that the air can't escape from the jar, but tighten enough that water won't go pouring into your pickles.

7. Carefully lower them into the pot and process.  I had a few different sized jars, so I pulled the smaller ones out at 10 minutes and left the large ones in for another 5 or 10 minutes after that.  If you do not have special "canning" tongs that are coated with rubber, make sure to wrap a dish towel around your metal tongs when removing the jars from the hot water.  (don't take a chance on chipping or cracking the glass).

8. Leave them to cool on the counter, step back and swell with pride at your creation.


    September 30, 2011

    Falling for Fregula

    One of the best things to come out of Sardinia as far as I'm concerned is fregula (or fregola).  It is a toasted semolina pasta and it is similar in size to Israeli Couscous.  They are chewy, toasty little pearls and this is one of my favorite recipes for days when I need a little extra something.


    I happen to live in a predominantly Italian neighborhood, so finding this isn't difficult but if you aren't that lucky you can find it online (or have a friend mail it to you!).  Another option if your grocery store doesn't carry it, is to ask them to start!  Most stores are happy to oblige if they know someone will buy it.

    The first time I had fregula was in culinary school and I was instantly hooked.  The pasta is unlike anything else. It has a dense, chewy texture that you just don't get with regular pasta.  It holds up very well with hearty ingredients making it perfect for an autumn meal.


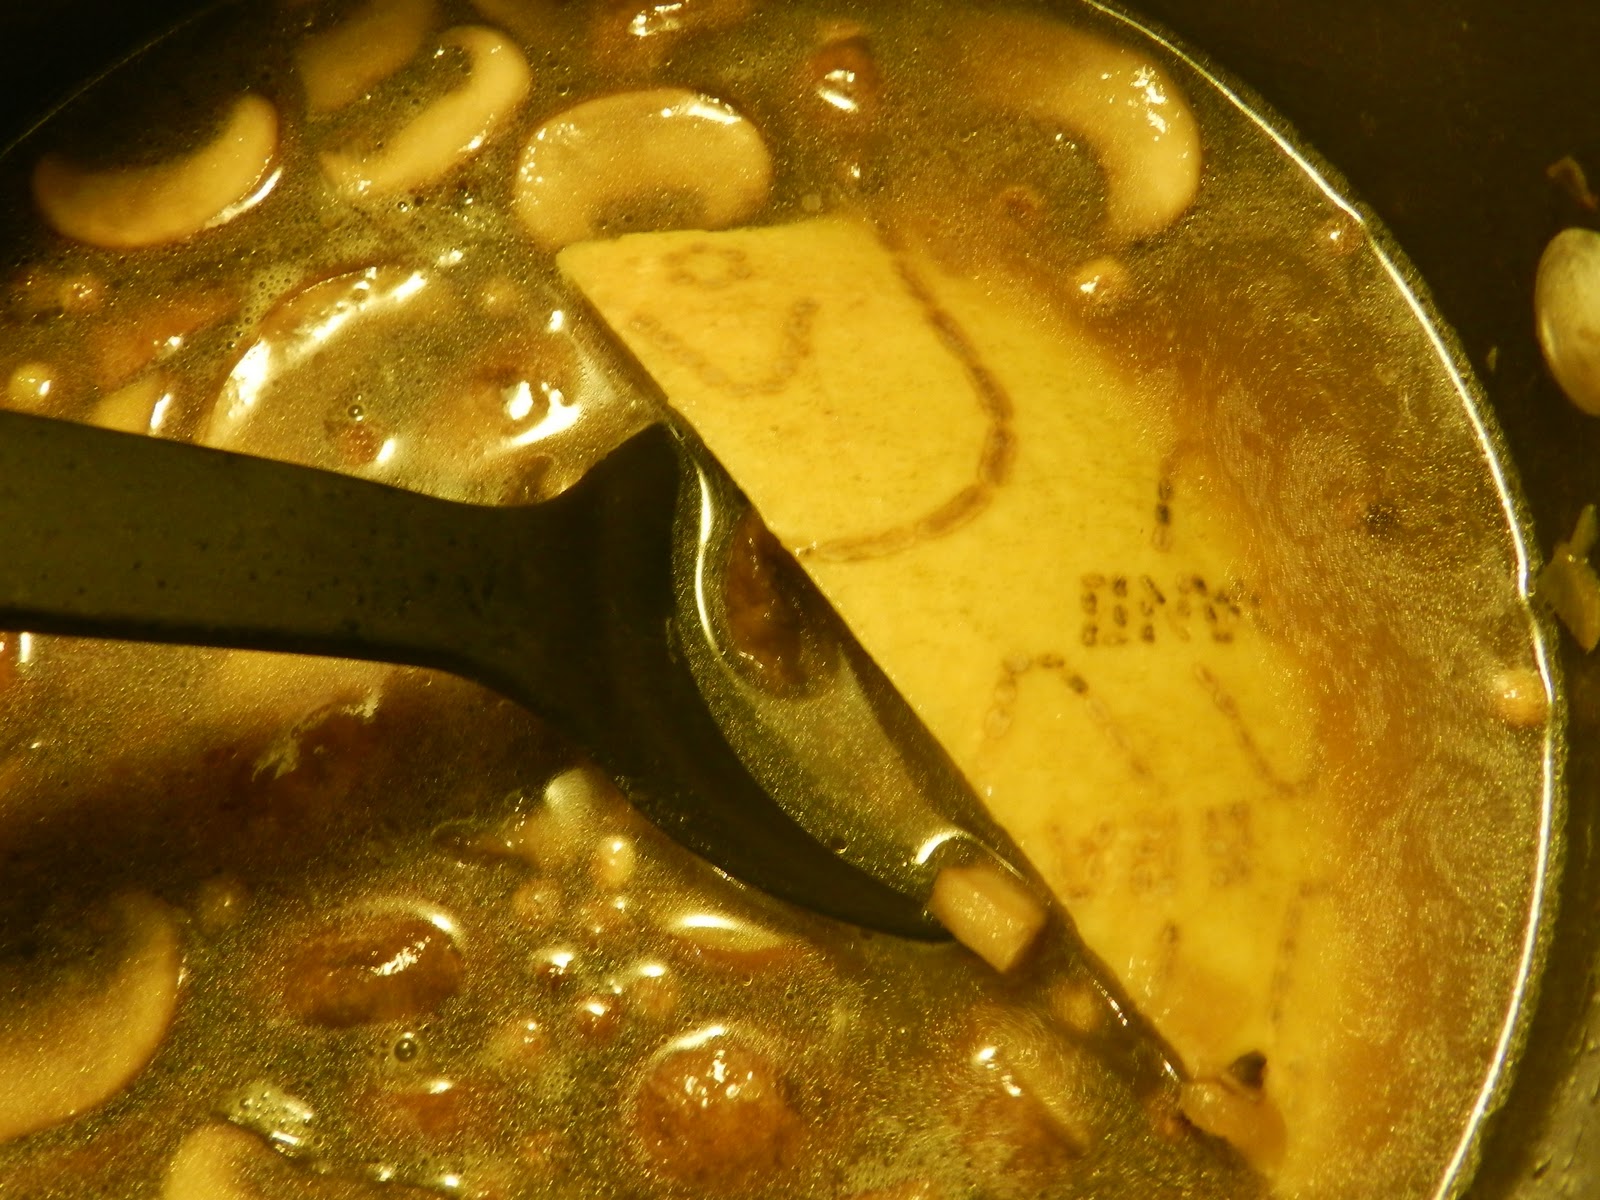
    Fregula with Creminis and Caramelized Shallots
    • 2 cups fregula
    • 1 clove garlic
    • 2 large shallots
    • 1/4 cup white wine
    • 1 large or 2 small packages cremini mushrooms
    • 4 cups chicken stock
    • 1/2 bunch parsley
    • 4 tbsp. olive oil
    • 1 Parmesan cheese rind (optional, yet necessary)


    1.  In a medium stock pot, heat oil over medium-high heat. Finely slice shallots and add to pot.  Stir to coat and let them cook, undisturbed for 5 - 10 minutes until they begin to caramelize.

    2.  Stir the shallots and let them continue to brown.  Once they have fully caramelized, add the wine.  Scrape the bottom of the pot to get all the yummy brown bits that have stuck to the bottom.

    3.  Next, slice the mushrooms and add them to the shallots.  Let the mushrooms cook down and release their liquid.  Add salt and pepper, lower heat to medium.

    4.  Mushrooms will need to cook down about 15 minutes, you'll see that they have released quite a bit of liquid and they are browned.  Smash the clove of garlic and add it to the pot.


    5.  At this point, add the fregula, stir it to combine, and add the stock.  This is where you add the cheese rind if you have one.  I know not everyone has one of these in the refrigerator, but if you do,  this is the perfect use for it.  It will lend a depth of flavor that nothing else can provide. 


    6.  Bring the fregula up to a boil and let it cook until al dente,  about 12 minutes.

    7.  Turn off the heat. Chop the parsley and add it to the fregula.  Stir to combine.

    8.  Serve with extra grated parmesan on top.


      September 24, 2011

      Farmer's Market Finds


      Everyone knows the behemoth that is the Union Square Farmer's Market
      I love it, but sometimes it's a bit overwhelming for me and getting all of my treasures home on the train is less than ideal.  
      So,  I opt for a smaller, more familiar Farmer's Market closer to home.


      This market may not offer the variety and sheer volume of vendors that the Union Square market does,  but it suits me just fine. 

      There is one particular vendor there that I make a bee-line for as soon as I step into market territory.  They make some of the best bread, cookies, pies and knishes I have ever had.  Their chocolate chip cookie makes my eyes roll back in my head.  The bread is crusty on the outside and soft and tender inside and the pies taste like they have a Midwestern grandma in the kitchen. But what I really go there for are the knishes.
      (oh the knishes...)


      Now, let me explain...  I have never been a fan of knishes.  The only ones I've ever had are those frozen squares that taste like cardboard.  You know the ones,  they need to be buried in mustard in order to get them down.

      THAT my dear friends is NOT a knish.  I have met the holy grail of knishes.  And I like it,  I like it ALOT.  This knish is so good you'll propose to it.  The mashed potato inside is sooo good (sour cream makes everything delicious), it is creamy and still has chunks of potato so you have a nice contrast in texture.  The crust is perfection.  It's not too thick, it is delicate and serves it's purpose of containing the mash quite nicely.  As soon as I get one, I put it in my bag and move happily along to the next vendor,  all the while thinking about sinking my teeth into it as soon as I get home and today was no different.


      A great day at the market, support your local farmers!

      September 17, 2011

      Soup's On!

      While I am not a fan of cooler weather,  the one thing I can appreciate is the comfort food that is ushered in with the chill in the air.   I love one-pot meals, mostly because I am lazy about washing dishes, but there is something rather "warm-fuzzy" inducing about a big pot of soup bubbling away... 
      The great thing about soups and other meals of this sort is they are fuss-free and that is a prerequisite during my hectic fall schedule  (besides the fact that my beloved Buckeyes are on every Saturday and I'm not one to miss a game).  Another added bonus is you can make a big batch and freeze it for days when you just can't fathom the thought of breaking out a saute pan.

      The variations on this are endless...  because it is fall I am using some root vegetables in the soup, however these vegetables can be changed out for any that you like.


      Autumn Minestrone


      • 8 cups vegetable or chicken stock
      • 1 lg. Spanish onion, chopped
      • 2 stalks celery, chopped
      • 3 carrots, chopped
      • 2 tbsp tomato paste
      • 3 cloves garlic,  minced
      • 1- 15oz can chopped tomatoes
      • 1/4 cup olive oil
      • 1 medium zucchini, chopped
      • 1 med yellow squash, chopped
      • 1/2 butternut squash, chopped & roasted
      • 3/4 cup ditali pasta
      • 1-  16 oz can kidney beans
      • 2-3 tbsp flat leaf parsley, chopped
      • 1/2 cup grated Parmesan
      • kosher salt
      • black pepper
      1. Heat olive oil over medium heat in a large pot.  Add in carrots, celery and onion.  Cook until onions are translucent and carrots are slightly soft,  about 10-15 minutes.

      2. Add garlic and cook 2 minutes.   Add tomato paste and cook for a few minutes.

      3. Add chopped tomatoes, chicken or vegetable stock and kidney beans.  Season with salt & pepper.

      4. Add zucchini, yellow squash, butternut squash and pasta.  Cook for about 10 minutes until pasta is al dente.

      5. Remove from heat and stir in parsley.  Check for seasoning and add salt & pepper if necessary.

      6. Sprinkle with grated parmesan when serving.

      September 10, 2011

      No Bones About It...

      10 weeks old

      Now that the "dog days" of summer are over, I find myself baking treats for my canine companion.  She loves sweet potatoes almost more than any other thing on earth,  so it was essential to incorporate them into her treats.

      For those of us that love our pets like we gave birth to them,  making something special for them is not out of the ordinary...  but for those of you that may not be pet-lovers I suppose it may seem a bit odd.

      Our dog Cleo used to love these treats when my Mom would make them for her,  so she sent me the recipe so I could make them for my little one.  They are pretty quick to get together and not complicated at all, so the whole process is pretty painless.

      Considering all of the unconditional love they give us and never ask for anything in return,  making our beloved pets a special treat every now and then is a pretty good trade-off.


      "Sugar" Cookies
      • 1 cup all-purpose flour
      • 1 cup wheat flour
      • 1/2 cup powdered milk
      • 1/2 cup wheat germ
      • 1/2 tsp salt
      • 6 tbsp. butter
      • 1 egg
      • 1 tsp brown sugar
      • 1 cup mashed sweet potato (you can use carrots or other vegetables, if not using sub water)

      1.  Combine flours, wheat germ, milk powder and salt in a large bowl.
      2.  Cut in butter until mixture resembles coarse crumbs.
      3.  Beat the egg and add the sugar to the egg and whisk to combine.
      4.  Add the mashed sweet potato and make a stiff dough.
            (you may have to add more flour, it should feel like a biscuit dough)
      5.  Knead on a floured surface until dough is smooth and pliable,  then roll out to 1/4" thickness.
      6.  Use a small cookie cutter to cut out your shapes. 
            (I used a 2" star)

      ready for the oven...

      7.  Lay your "cookies" out on a lined sheet pan, egg wash the top (or brush with cream).
      8.  Bake at 325 degrees until light golden brown (about 30 minutes)


      Sweet Potato "Cookies"